Adding a record to a Feature Table via the Data Source
The first method is to add a new record to the feature table via the Data Source section
Option | Description | Visualization |
|---|---|---|
Open feature table list |
| .png) |
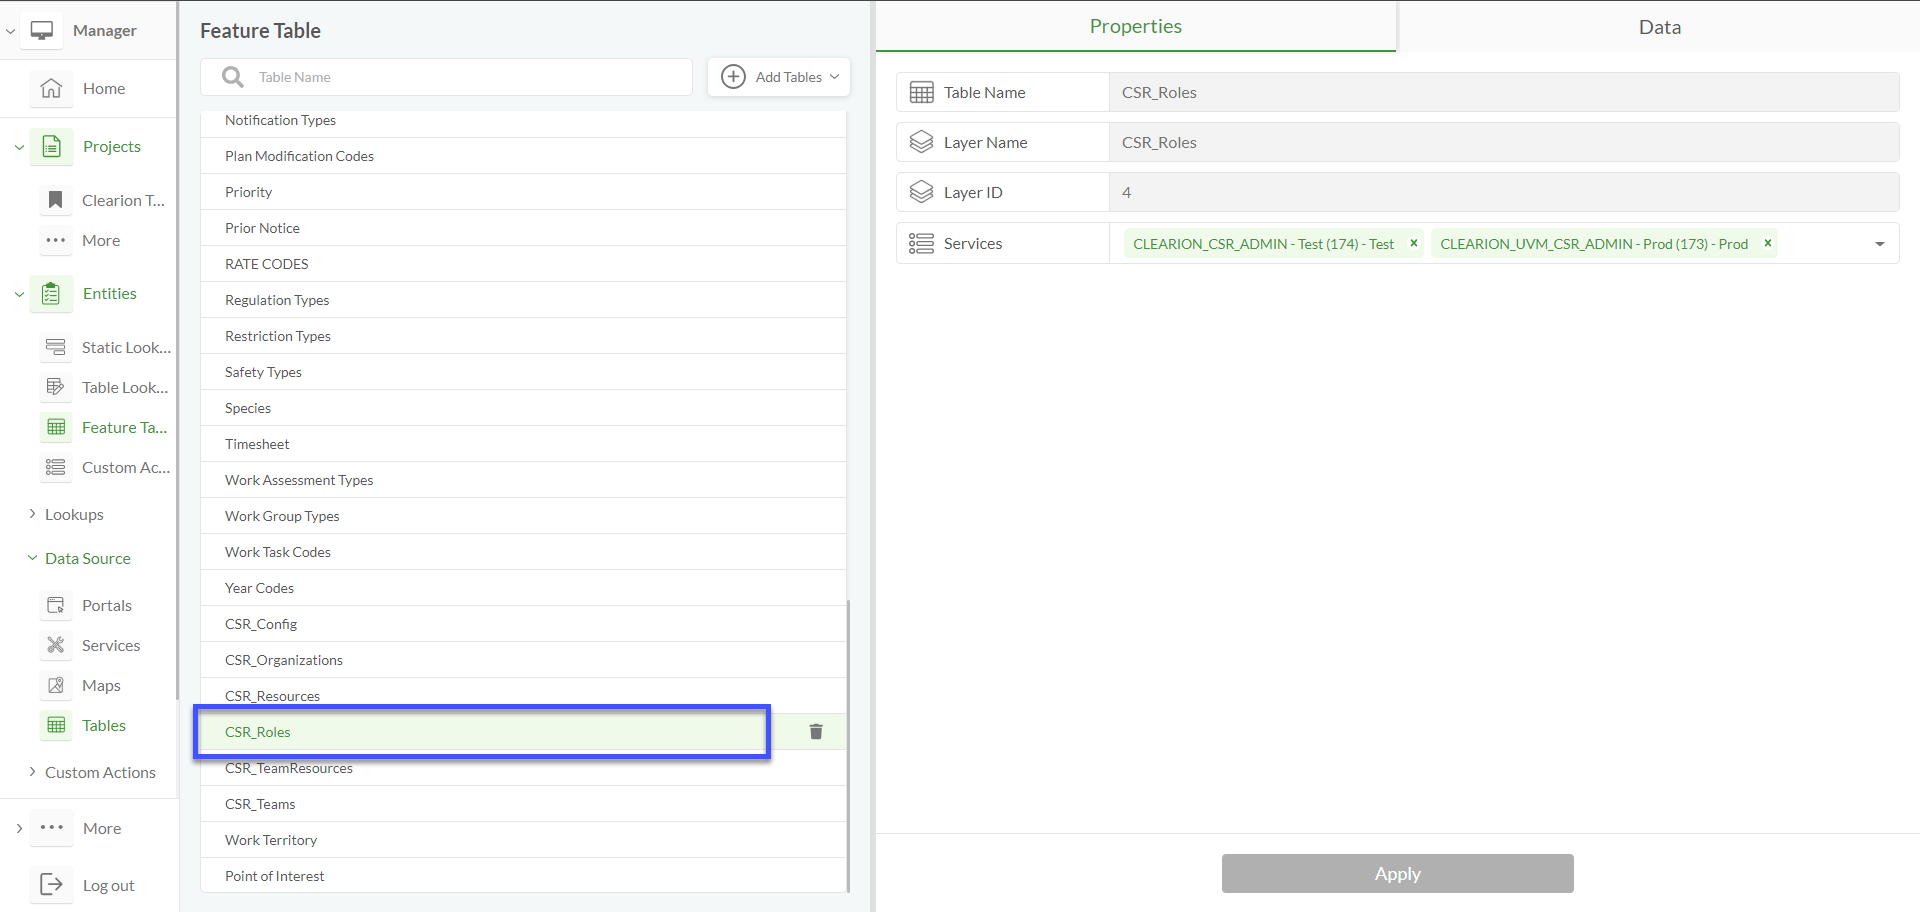
Select feature table |
| 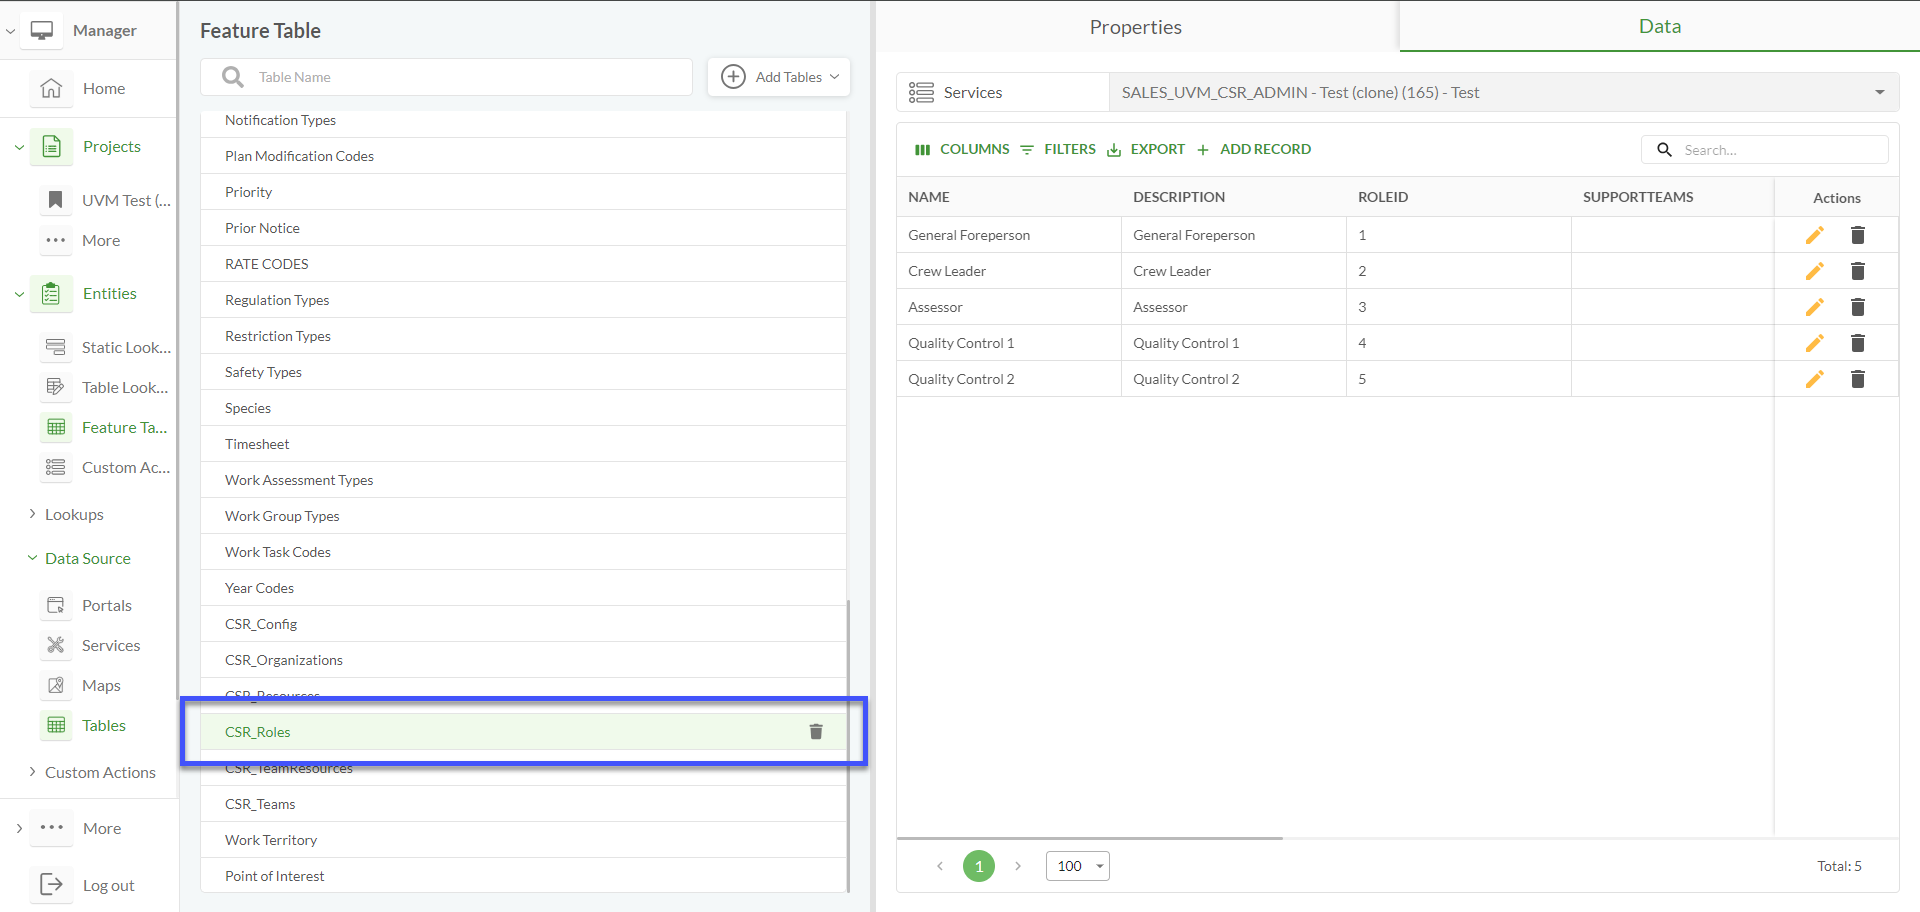 |
Open the "Data" tab |
|  |
Add new record |
| 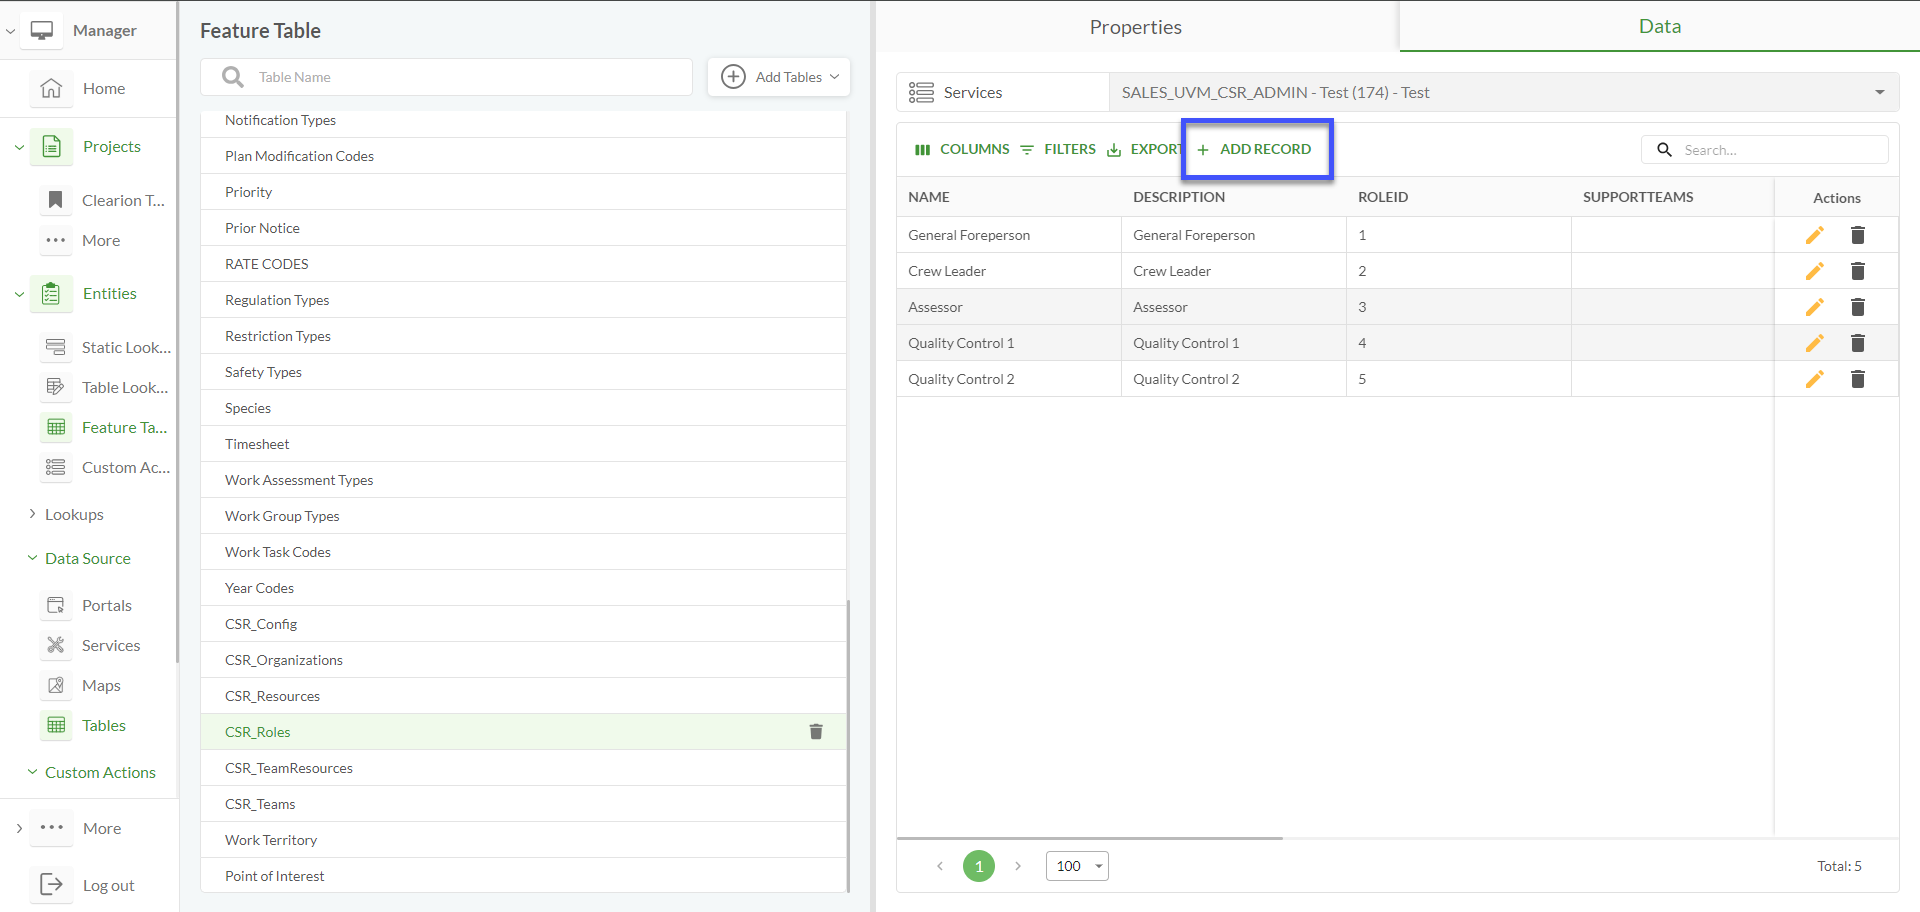 |
Filling fields |
| .png "image(47).png") |
Save |
| .png "image(51).png") |
Editing records via the Data Source
For the Data Source tables, all actions (e.g., Add, Edit, Delete) are enabled by default
Option | Description | Visualization |
|---|---|---|
Open feature table list |
| |
Select feature table |
|  |
Open the "Data" tab |
| .png) |
Editing |
| .png "image(54).png") |
Change the data |
| .png "image(55).png") |
Save |
| .png "image(57).png") |
Edited record |
| .png "image(56).png") |
Deleting records via the Data Source
For the Data Source tables, all actions (e.g., Add, Edit, Delete) are enabled by default
Option | Description | Visualization |
|---|---|---|
Open feature table list |
| |
Select feature table |
| |
Open the "Data" Tab |
| |
Deleting |
| .png "image(58).png") |
Confirm deletion |
| .png "image(59).png") |
Adding a record to a Feature Table via the Studio Project
The second method is to add a new record via the Studio project
Addi in Studio functions similar to Data Source, but users can manually enable or disable it for specific pages
Once adding is enabled, it becomes accessible to all users in the Studio and on the Clarion website
Option | Description | Visualization |
|---|---|---|
Open Studio |
| .png "image(87).png") |
Open the required page |
| 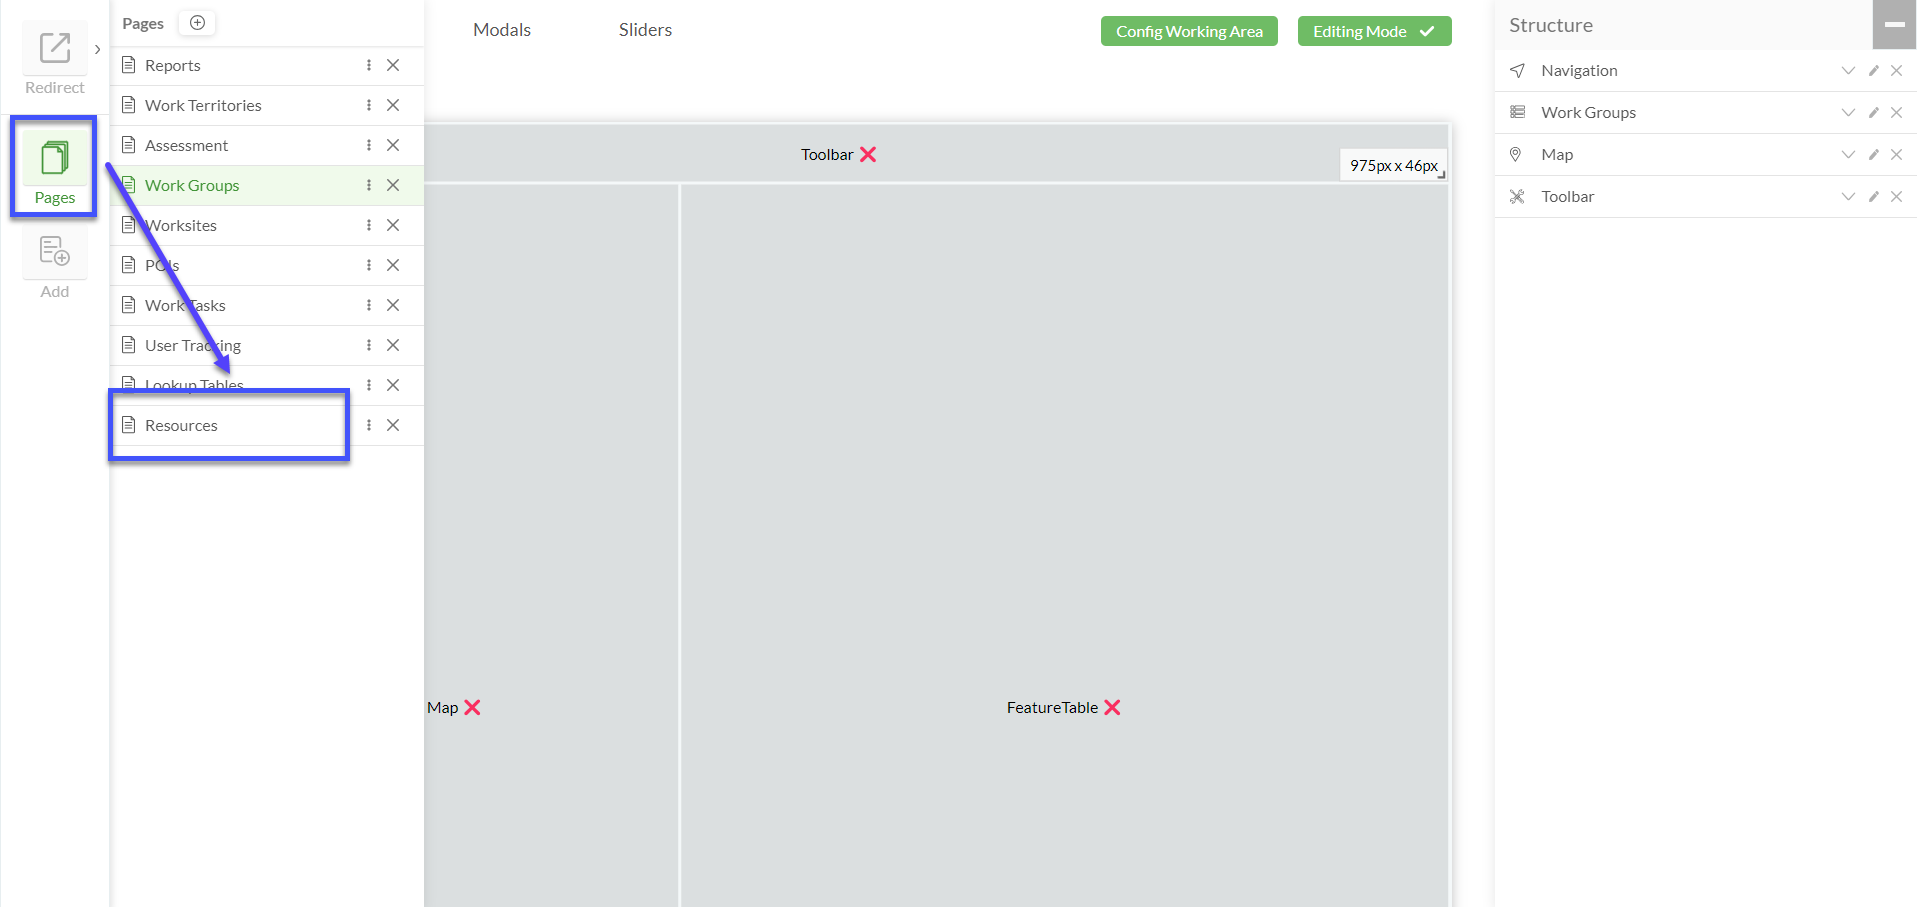 |
Edit feature table |
| .png "image(74).png") |
"Allow Add" action |
| 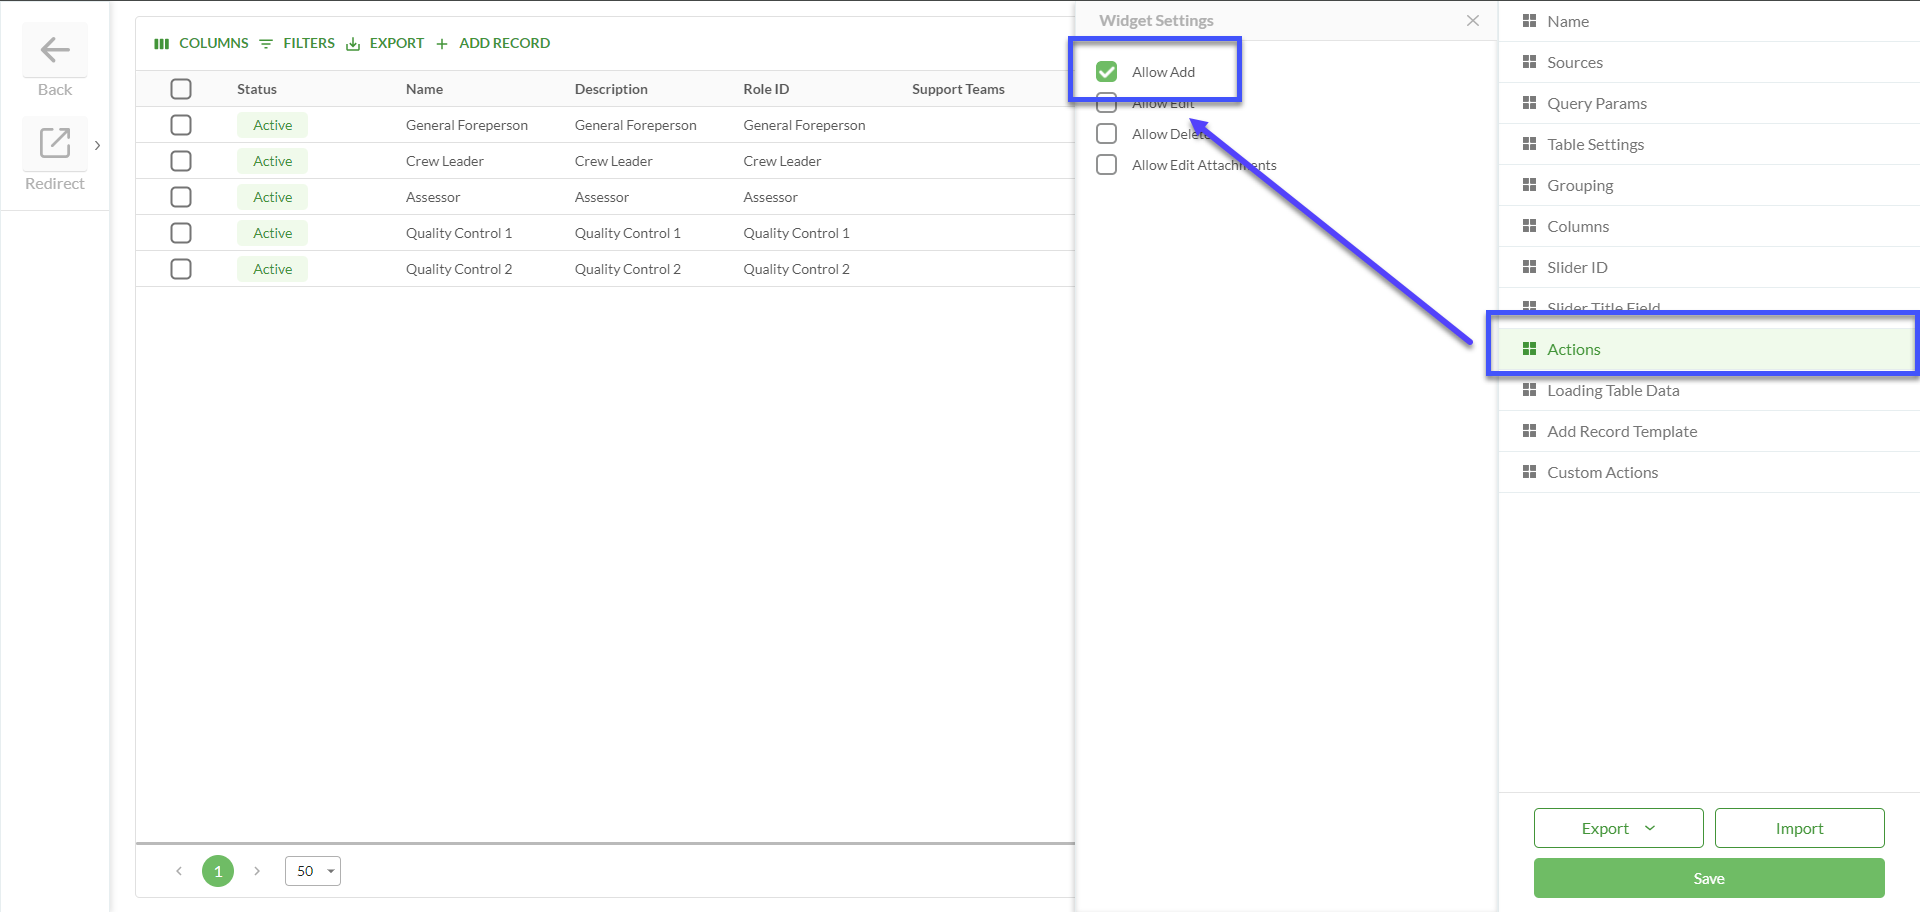 |
Add new record |
| 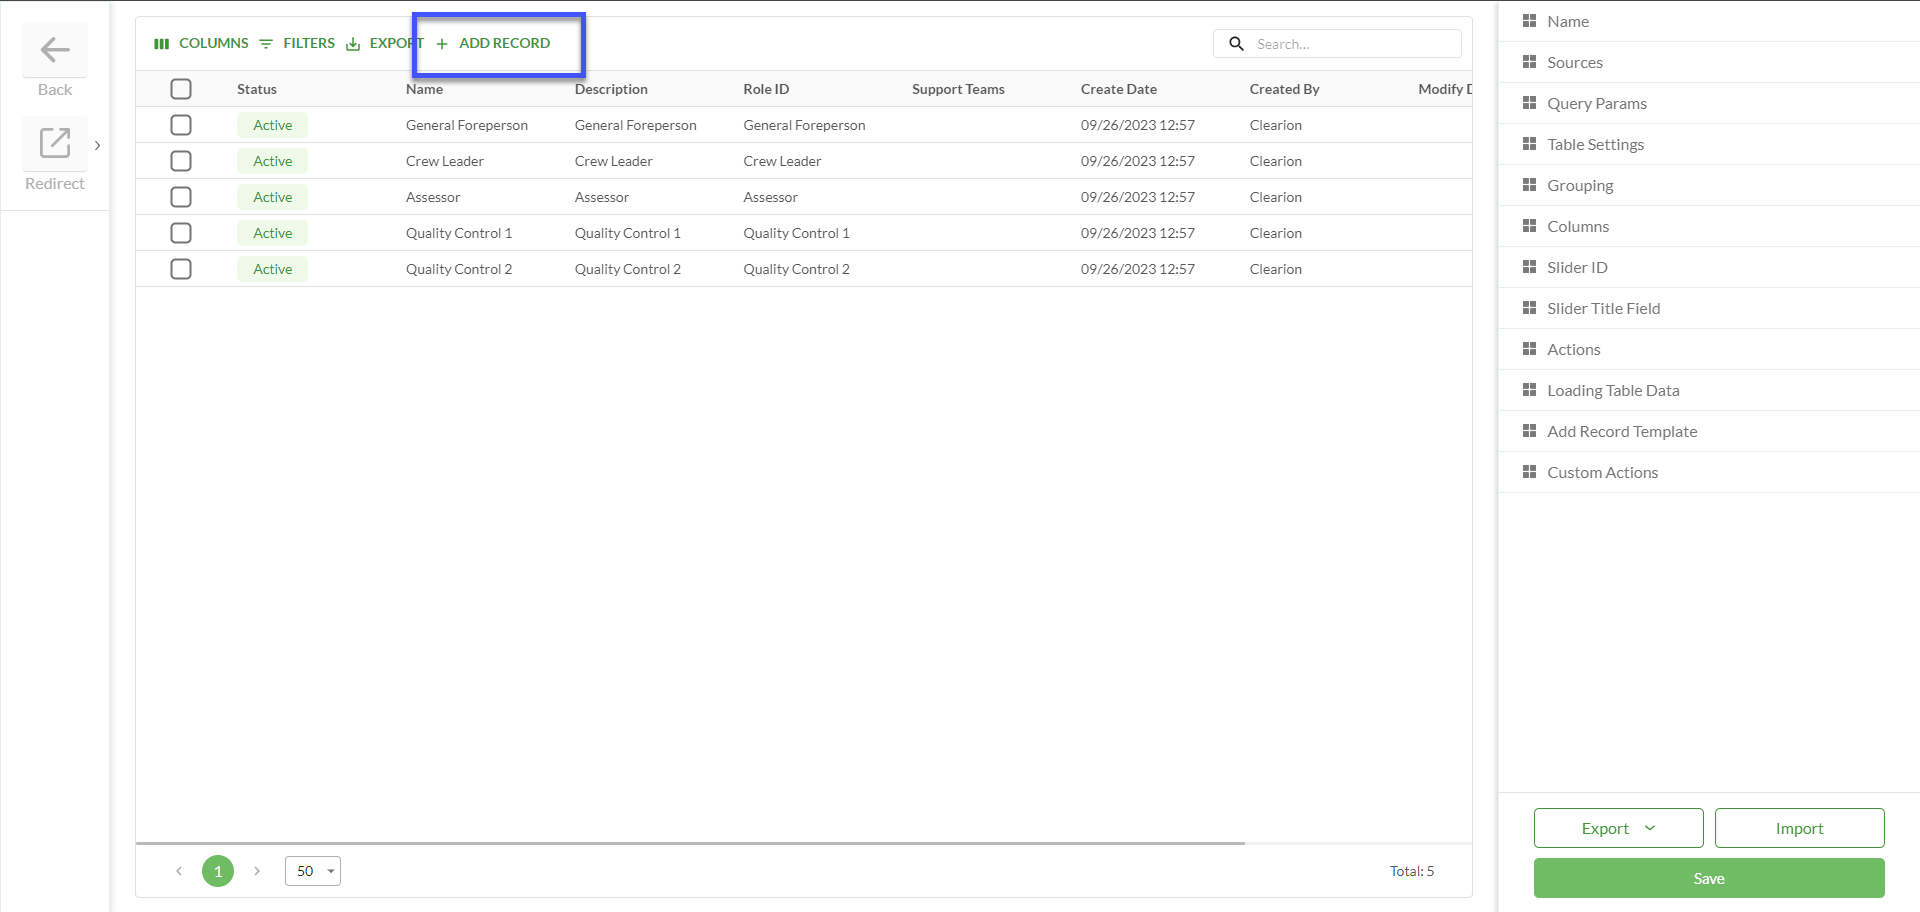 |
Filling fields |
| .png "image(62).png") |
Save |
| .png "image(63).png") |
Editing records via a Studio Project
Editing in Studio functions similarly to Data Source, but users can manually enable or disable it for specific pages
Once editing is enabled, it becomes accessible to all users in the Studio and on the Clarion website
Option | Description | Visualization |
|---|---|---|
Open Studio |
| |
Open the required page |
| |
Edit feature table |
| |
Allow edit |
| .png "image(66).png") |
Editing |
| 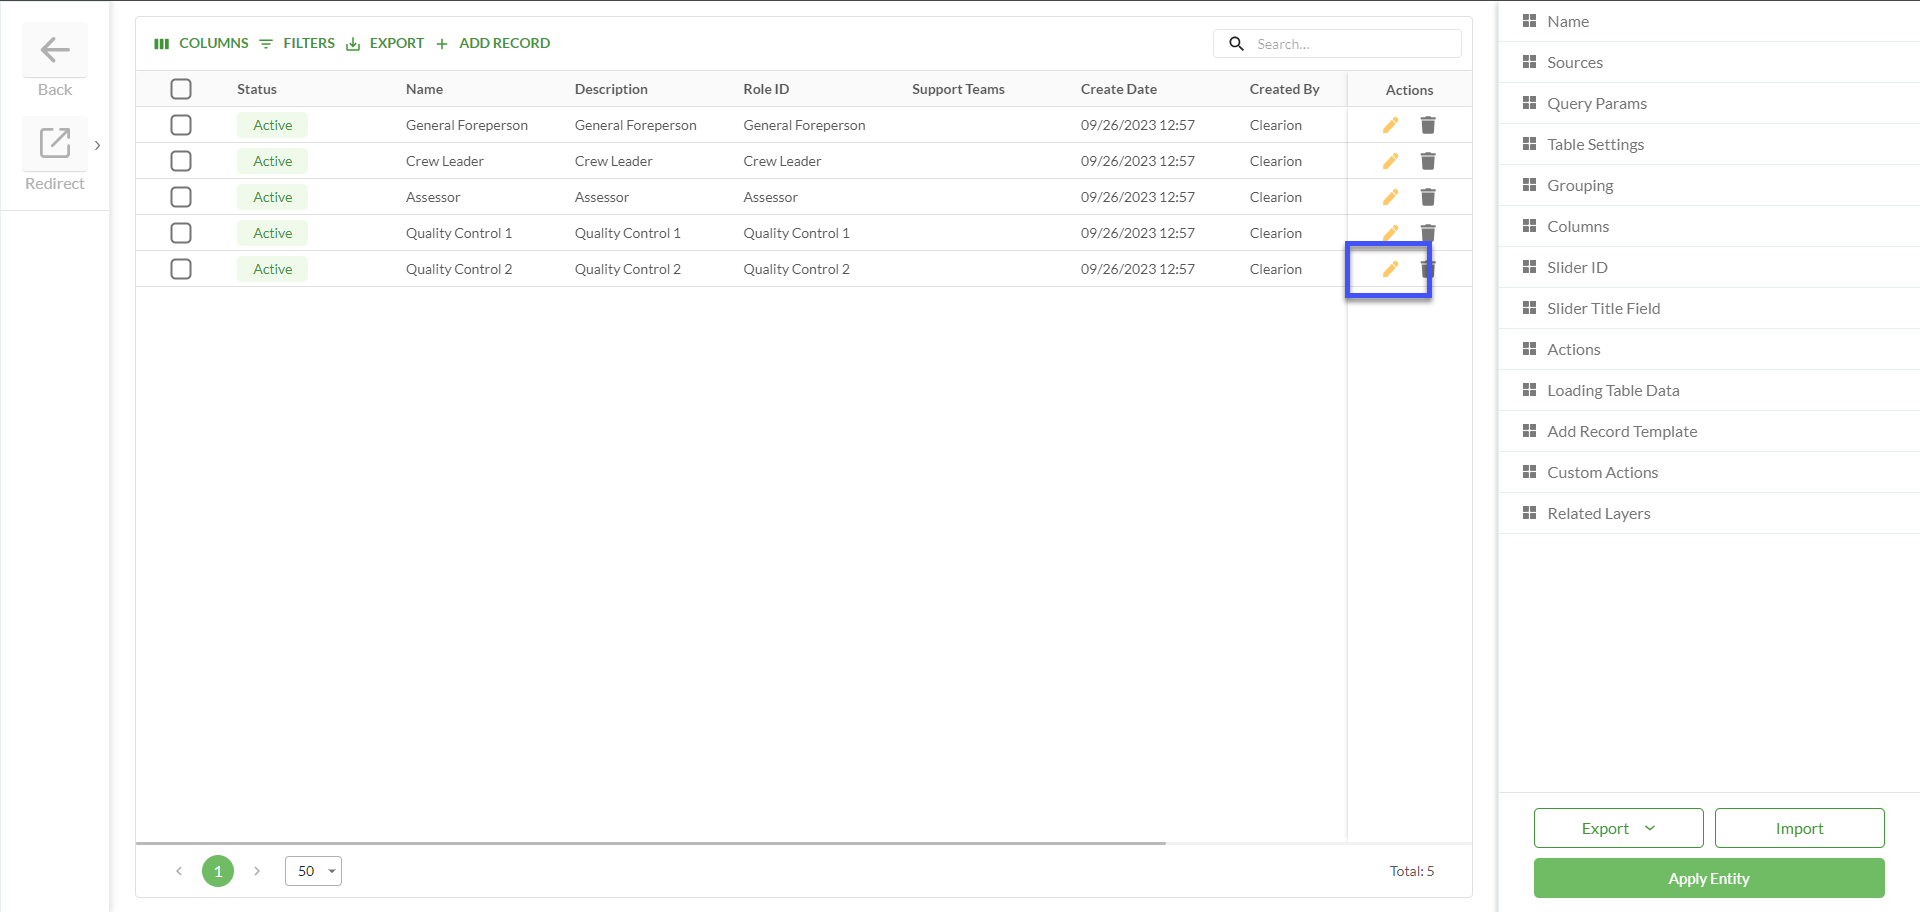 |
Change the data |
| 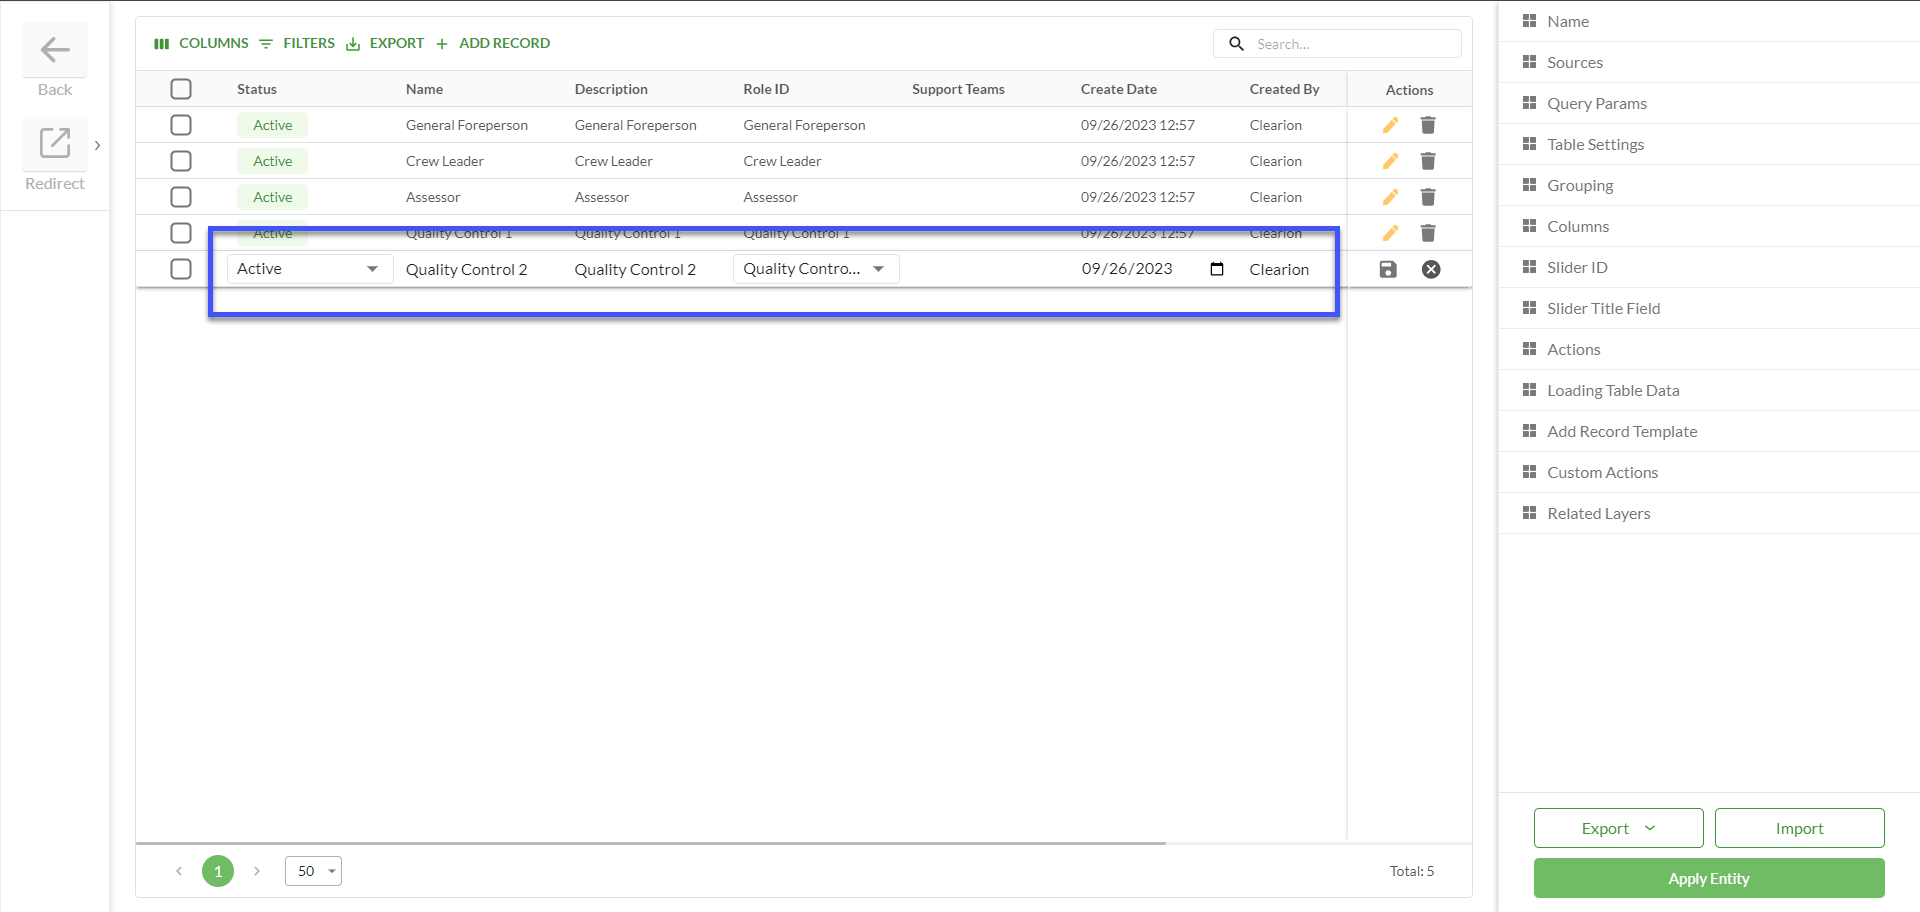 |
Save |
| 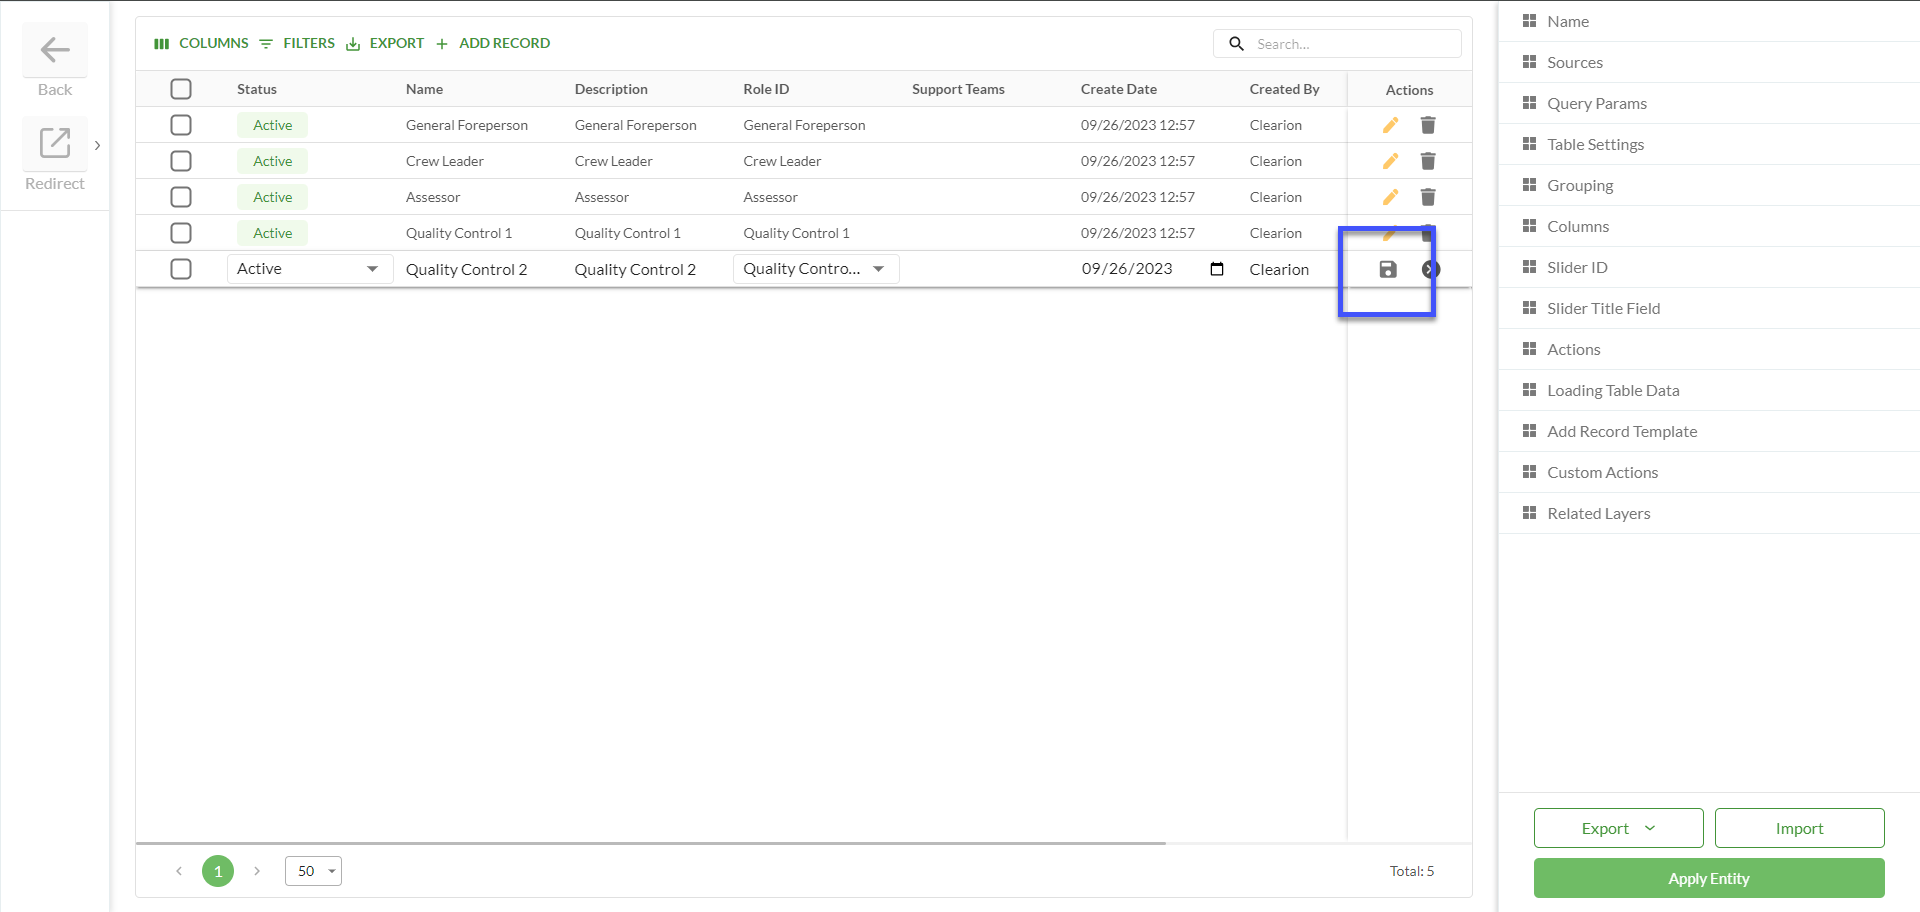 |
Edited record |
|
Deleting records via a Studio Project
Deleting in Studio functions similarly to Data Source, but users can manually enable or disable it for specific pages
Once deleting is enabled, it becomes accessible to all users in the Studio and on the Clarion website
Option | Description | Visualization |
|---|---|---|
Open Studio |
| |
Open the required page |
| |
Edit feature table |
| |
Allow to delete |
| |
Deleting |
| 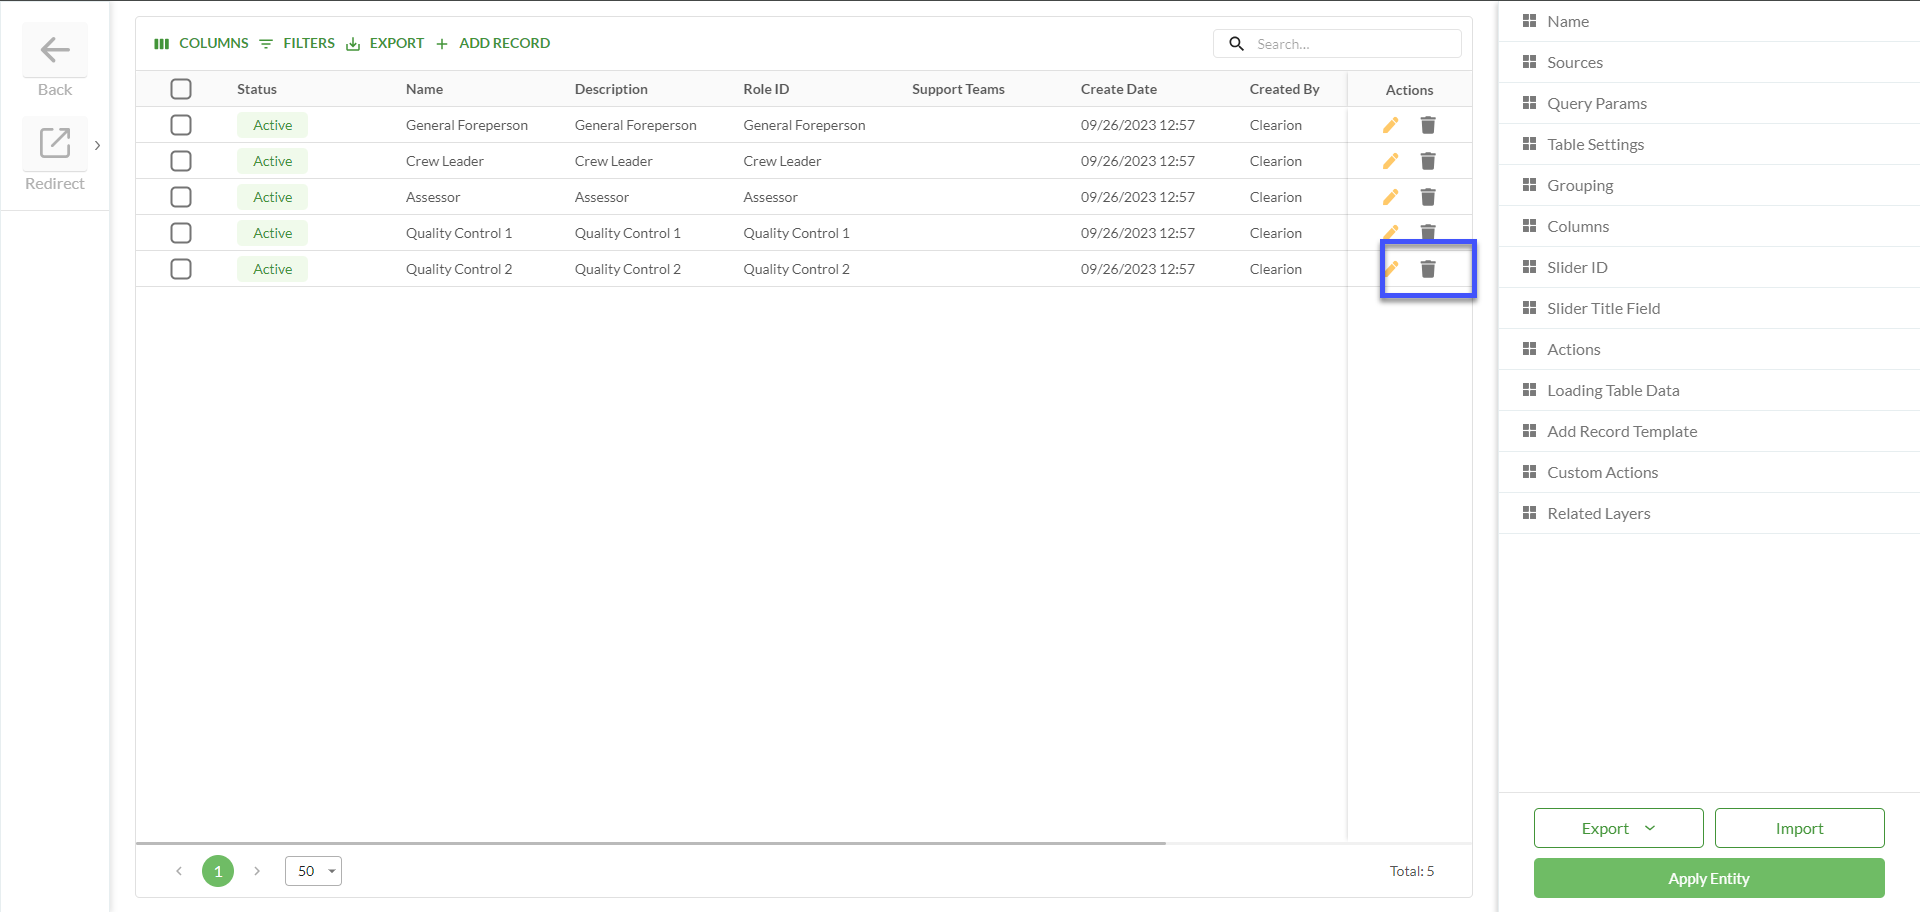 |
Confirm deletion |
| 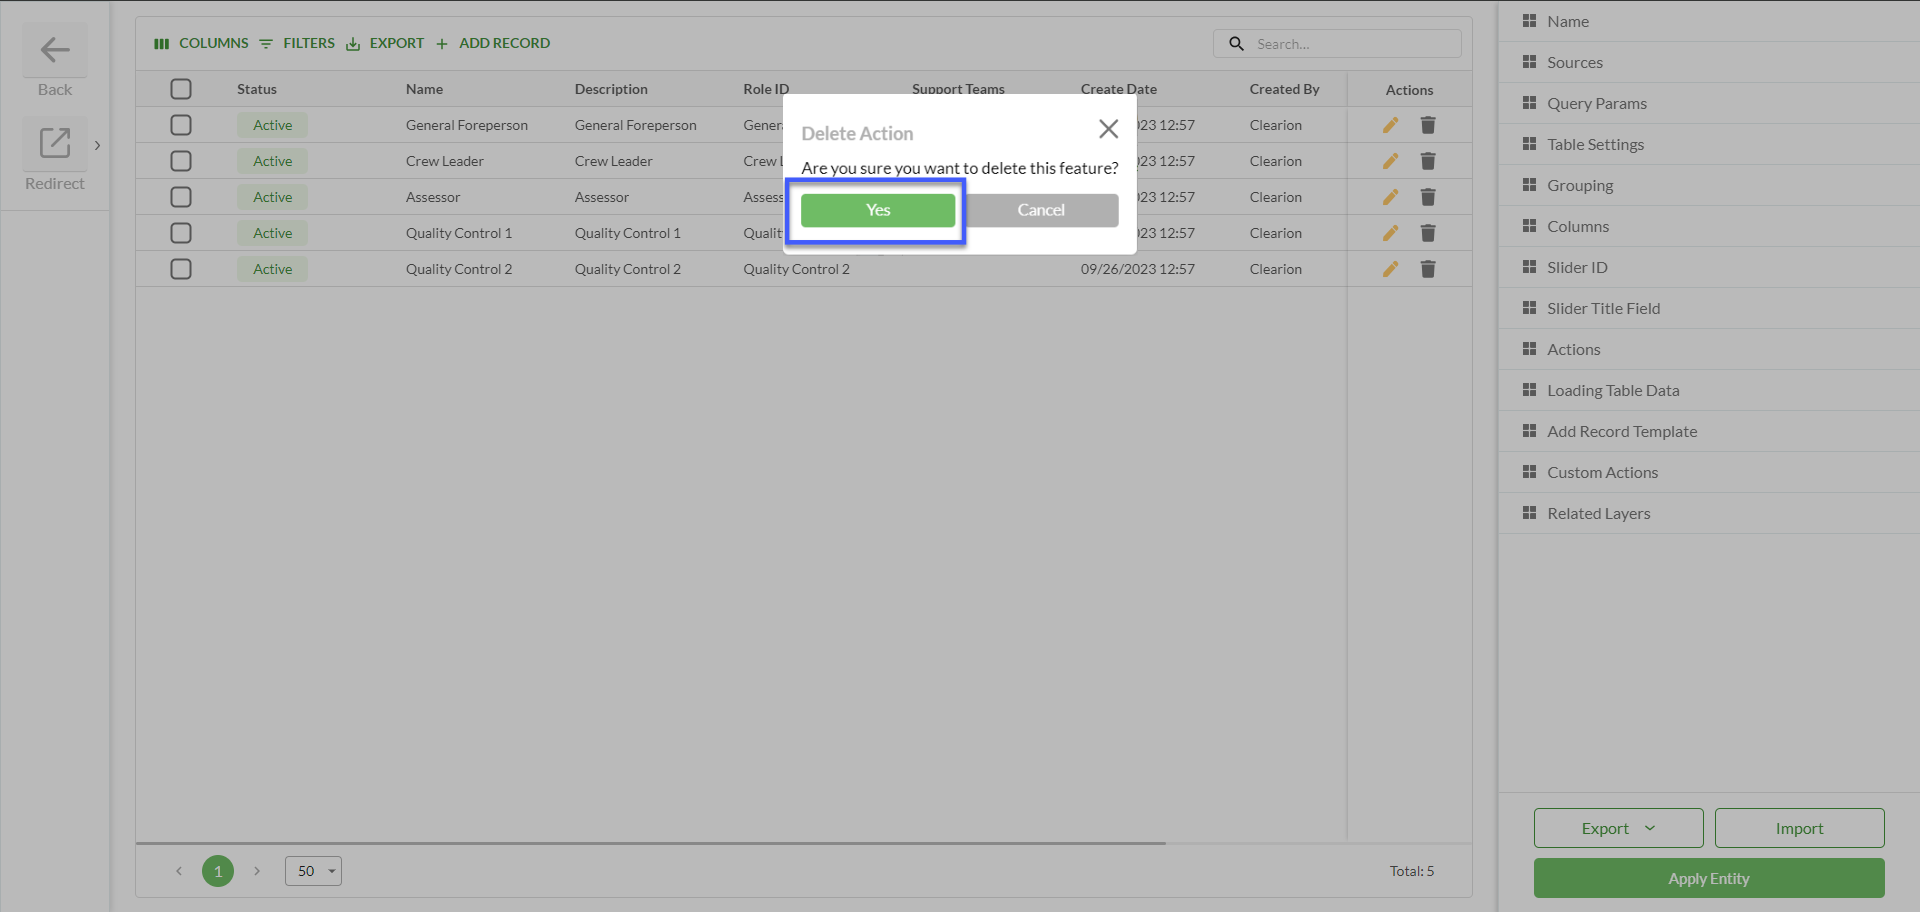 |